I spent about twenty years going from one contractor type table saw to another because I needed something and that's what I could afford. The drawback on most of those types of saws these days is that insert is just a thin piece of stamped steel. Most also do not have a true zero clearance insert available. For instance the last one of those I had, which the Harvey replaced, was a D branded saw sold at the blue store. The zero clearance insert they sell for that is only zero clearance on the very front leaving a large gap behind that point for your thin pieces to fall into. The only other option is to buy a homemade one online or make one. Your options, given the thin steel plate are 1/8" acrylic, 1/8" plywood or (if you can find it) 1/8" phenolic. Whichever one it is weak, flexes and doesn't last, they also don't deal with DADO sets very well.
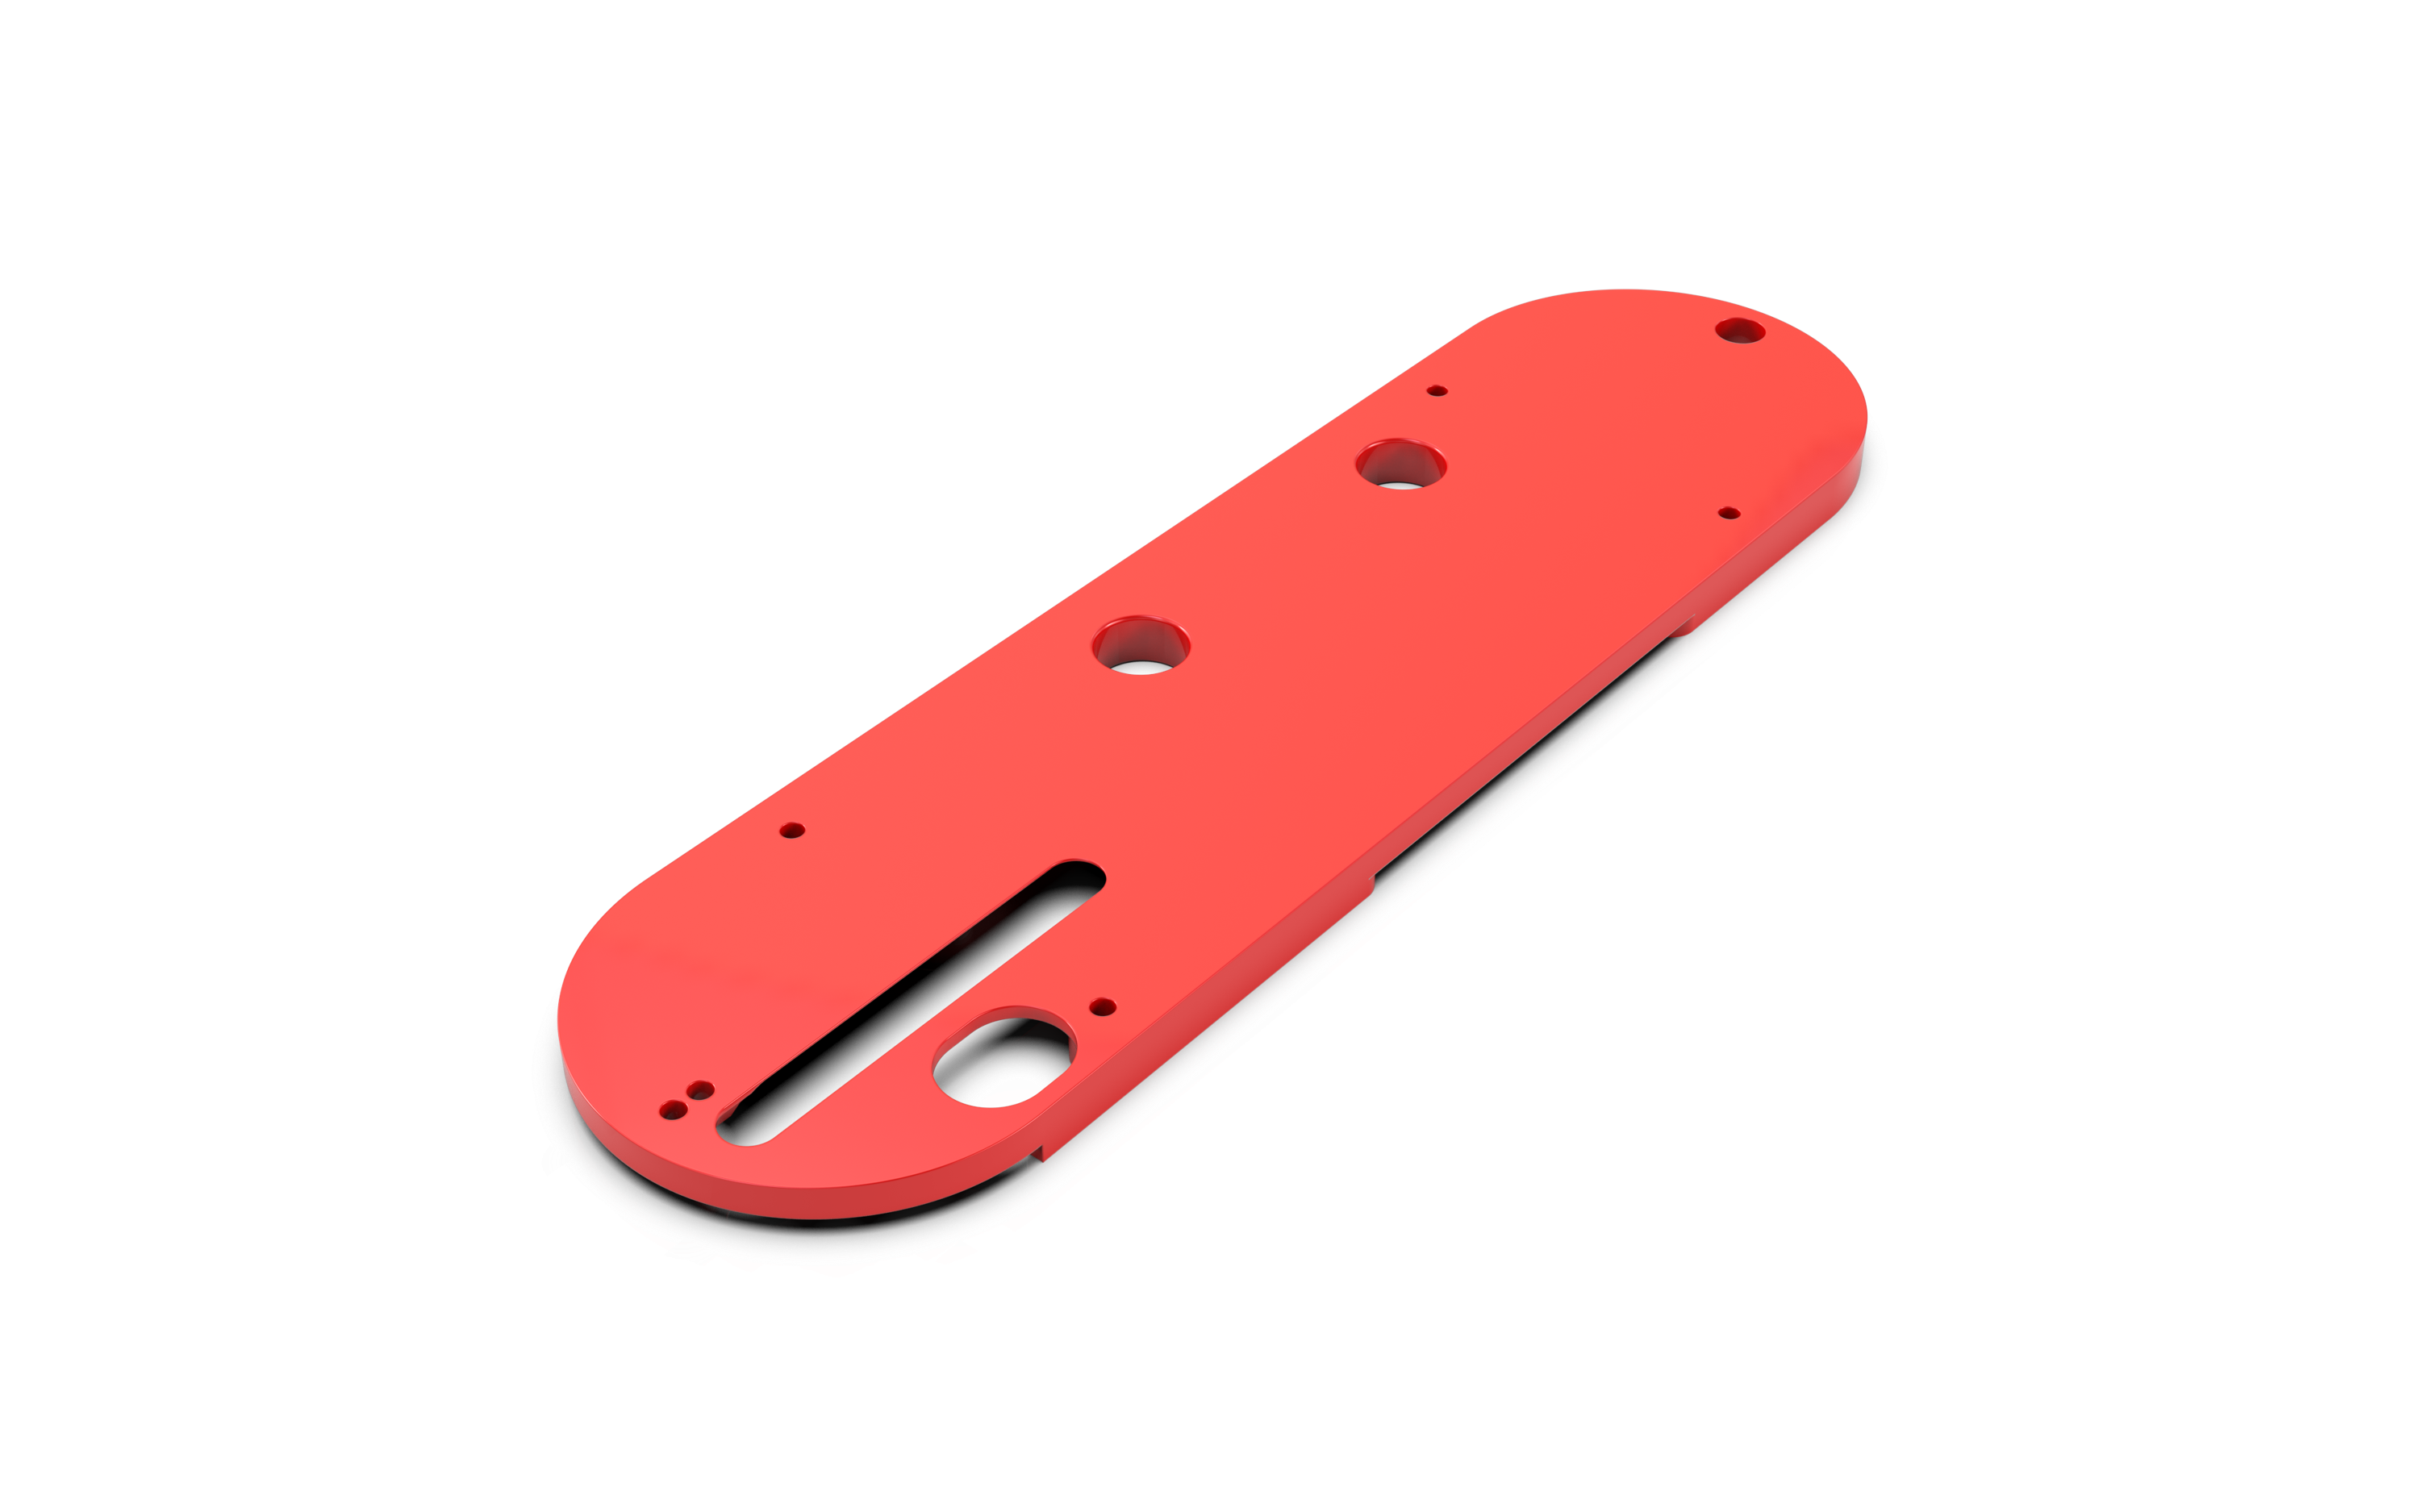
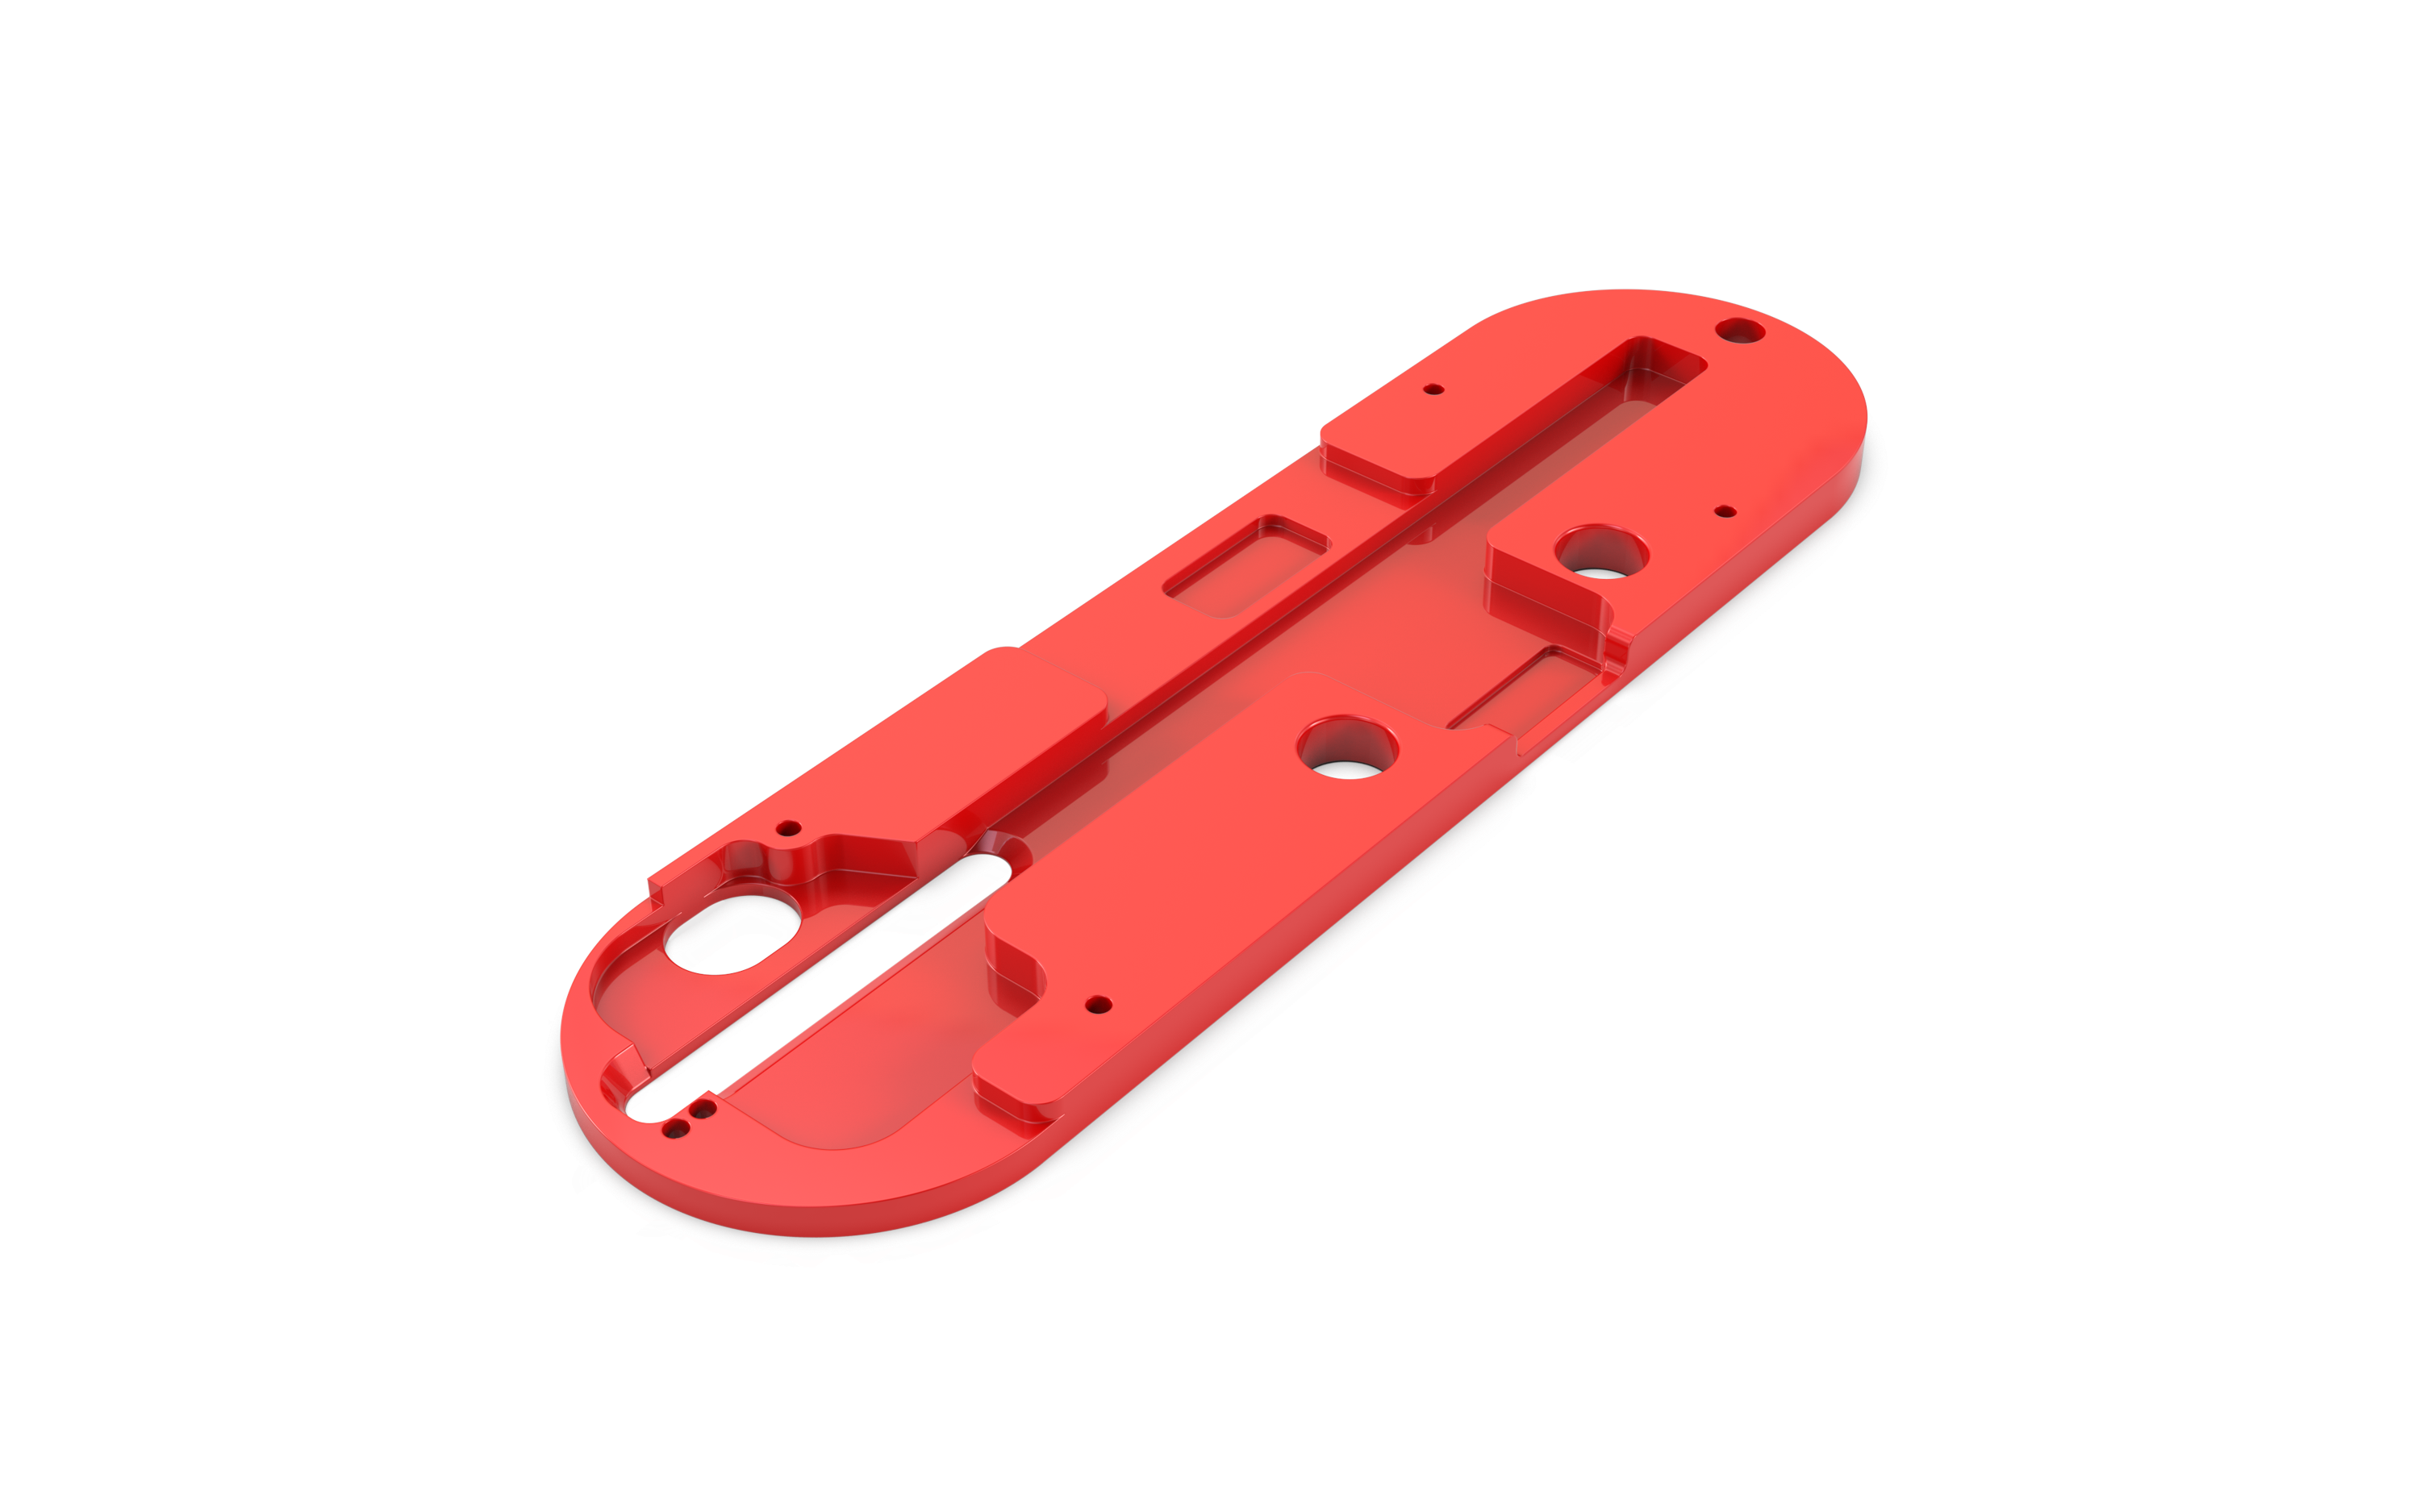
These zero clearance inserts Harvey sells are aluminum and beefy enough that nothing I put over it gives it even a little bit of an issue. Your carbide tipped sawblades will eat right through these to cut the kerf and they work just as well for full kerf blades, thin kerf blades and DAOA stacks. It is aluminum so you do need to be careful to be even slower than you would be with a shop made wooden insert. They will however cut through just fine. You can also lightly file the insides of the kerf cut once you make it to give it just a tiny bit of clearance, a few thou is all you need, so the blade isn't constantly rubbing against the insert very easily.
The fit and finish are perfect. The only real flaw is that with many sawblades, including the one Harvey ships with their saws and the three other they sell, are just a tad too high to fully seat the insert in to make the first through cut even with the blade as low as it will go. Fortunately, each insert has four leveling screws mounted in it. The screws have enough play to let you raise the insert up just enough so that it is not riding on the blade. You can't use the fence to hold it down at that point but you can clamp a piece of wood down across it in a few ways to hold it down. I used a scrap piece of wood, drilled two holes into it and used t-head 1/4"-20 bolts to lock it across the t-slots. Once you make a cut about two inches long you can shut the saw off, lower the blade, level the plate correctly in the opening, hold it down with the fence and complete the through cut. You really do want to complete the cut even is you only normally raise the blade up to cut 3/4" material and less so you can use the riving knife properly. I am actually going to buy a few more these to have them on hand for some specific tasks and to have a few replacements for the future in case I need them and they change the pattern and these are no longer available.


